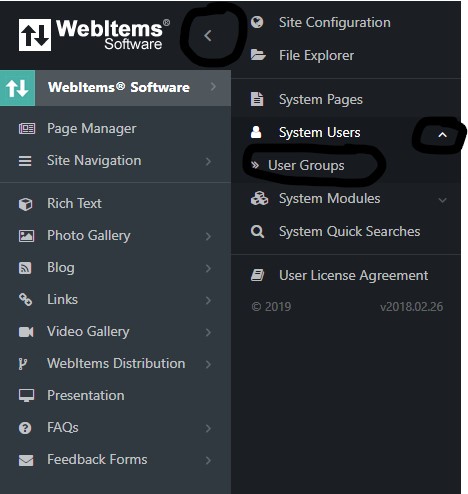
To view the User Groups Page, select the menu arrow beside your title in the top left hand corner, select the drop down menu beside System Users and then select User Groups:
Then click on the "+" button in the top right hand corner:
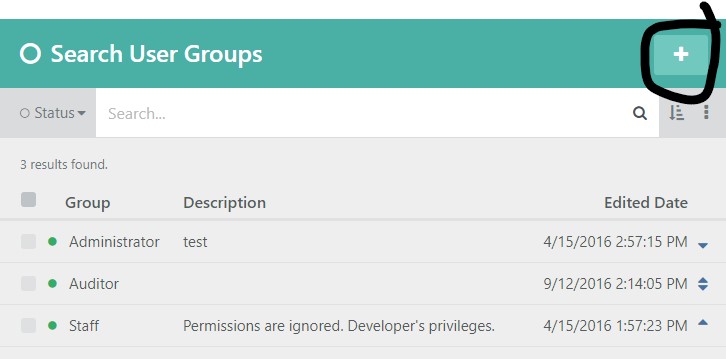
This will take you to the Add User Group Page.
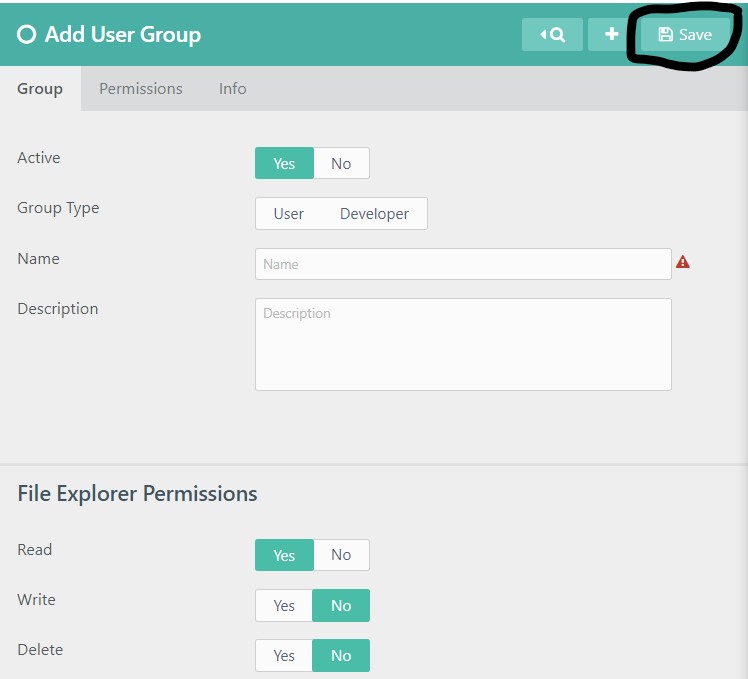
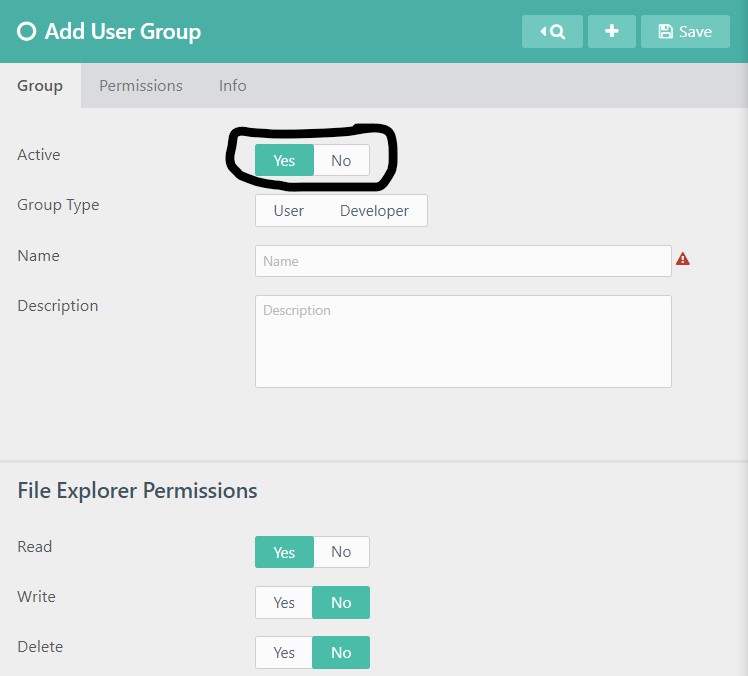
The Add User Group Page will have many elements. On this page you can turn the active status of this content off or on:
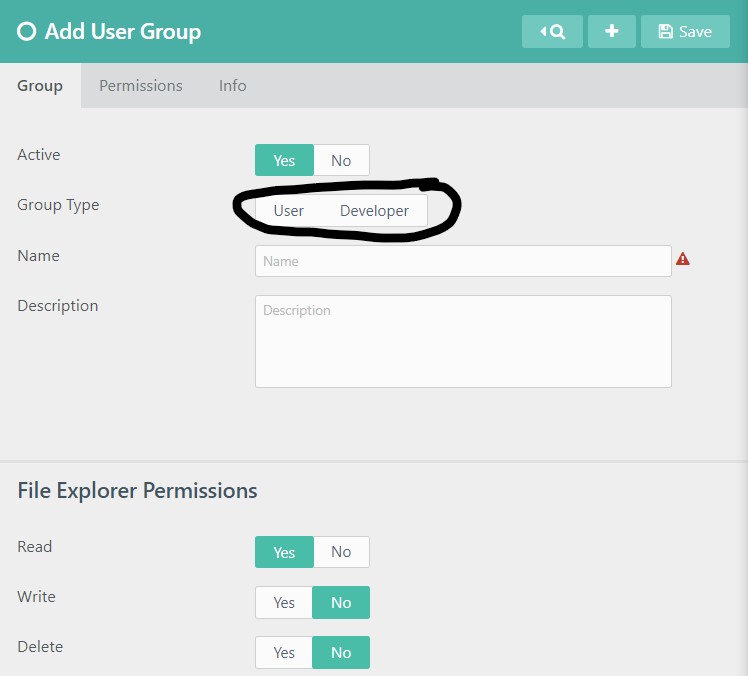
You will choose the Group Type to be either a User Group or a Developer Group:
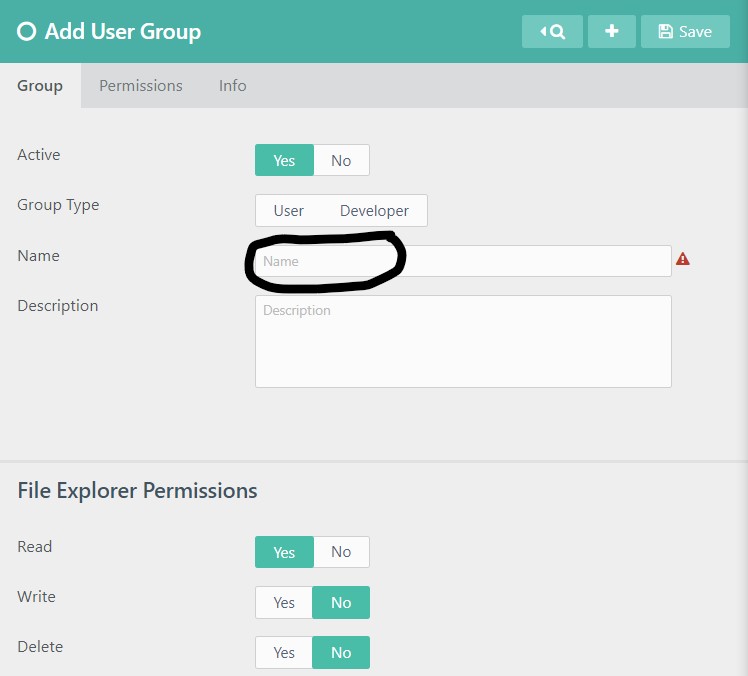
You will enter a name for your User Group:
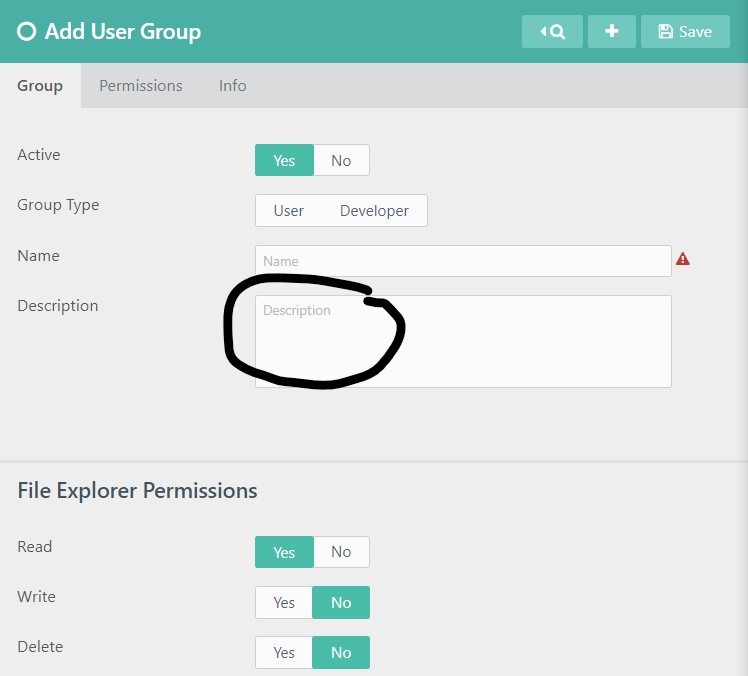
You can enter a Description for your User Group:
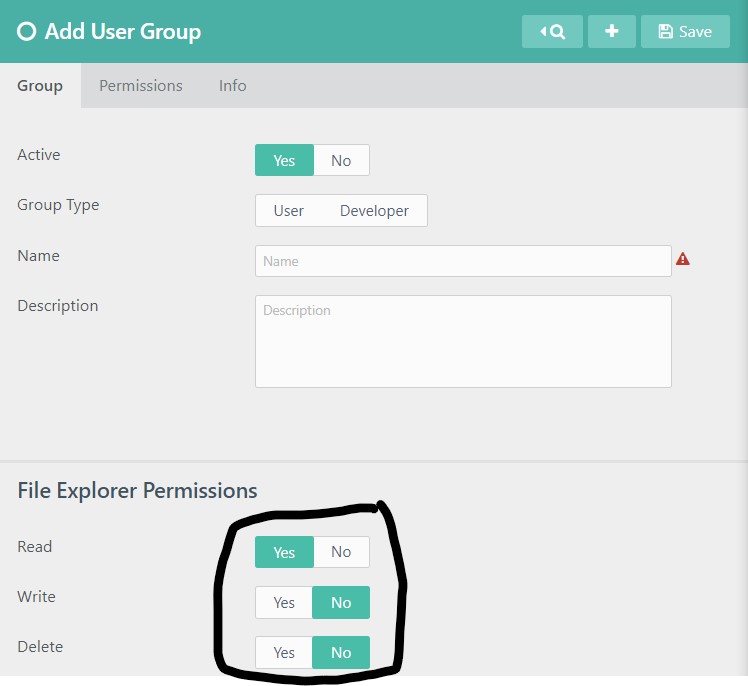
You will select the File Explorer permissions for the User Group which determines their abilities, to read, write, or delete files within the File Explorer:
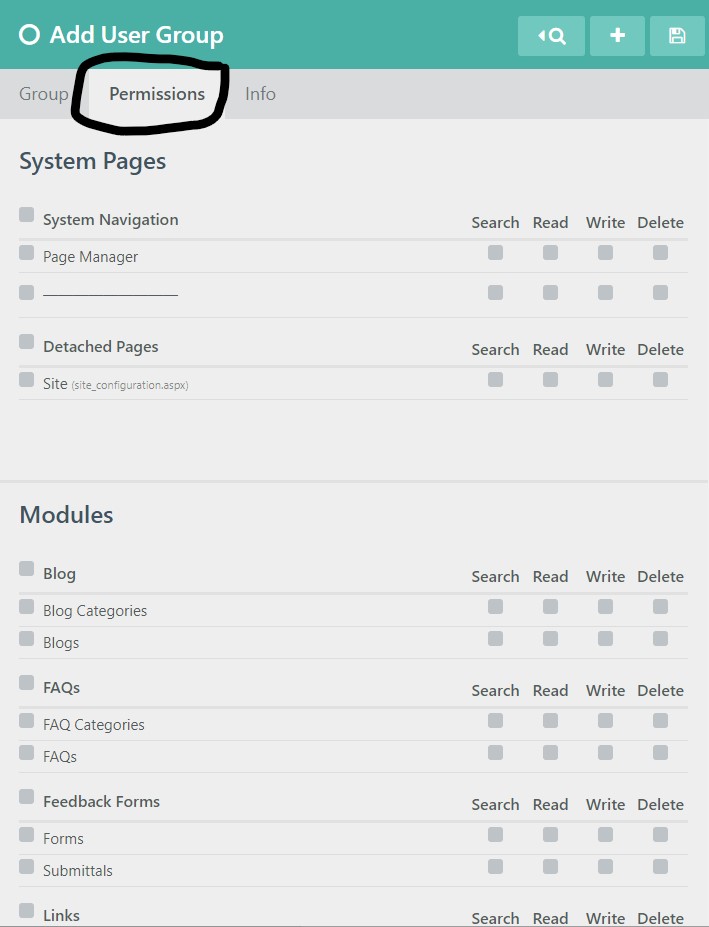
For more Permission abilities you can go over to the Permissions Tab:
Don't forget to save your work by clicking on the Save icon in the rop right hand corner: